Want to step up your sewing game by learning how to make custom wigs with a sewing machine and make them look natural? Then this guide is what you need.
What You’ll Need to Sew Wig
- Wig caps—there are plenty of wig caps out there. It doesn’t matter what you choose.
- Sharpies—you’re going to do grid lines for the wig. They’ll help you know where to sew.
- Wig head—you need to get a canvas head that is equal to your head. If your head is 23 inches, you must get a 23-inch head.
- Hair bundles—whether it be curly hair or straight hair, this part is up to you.
- Measuring tape—you need to measure your head to know exactly how big your wig needs to be.
How to Make a Wig with a Sewing Machine
Time needed: 20 minutes
With all the items ready, you can proceed with the following steps:
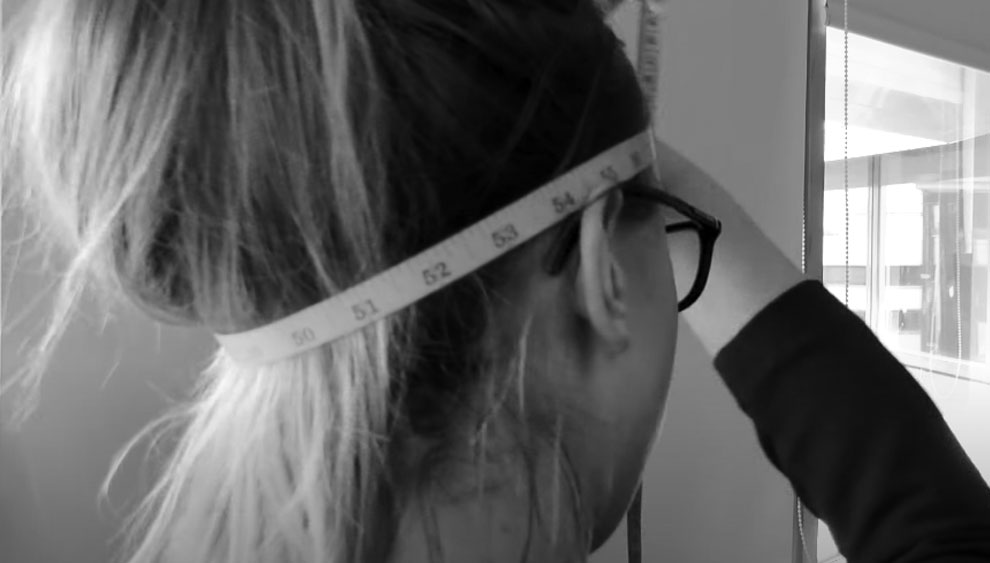
- Measure Your Head
Here, you have to go from your forehead all the way down to the nape of your neck. Once you’ve determined the number, write it down.
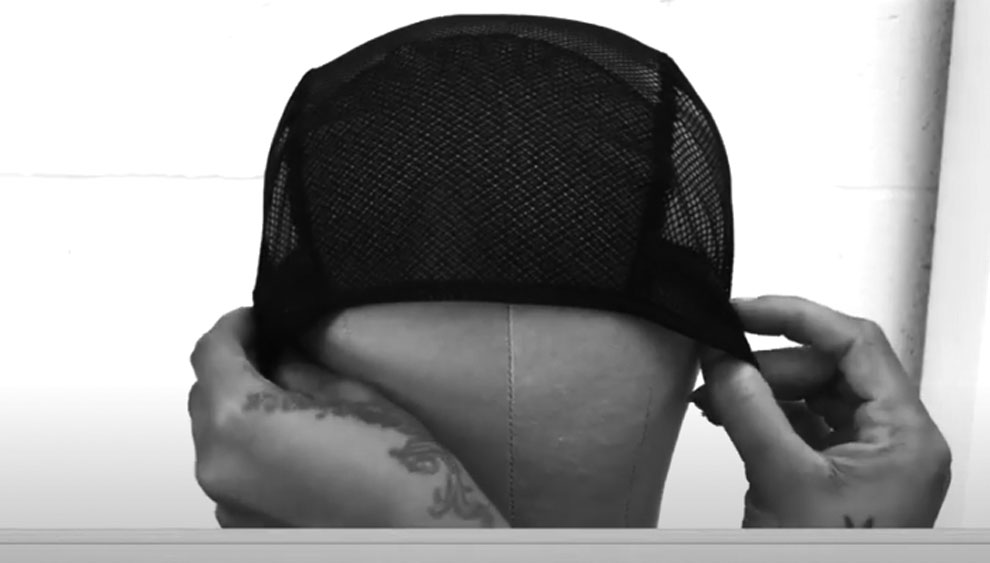
- Start Off With The Wig Head
Once you’ve figured out the circumference of your head, you have to put on the wig cap on the canvas head. You need to make sure that you put it to the measurements of your head.
- Put On The Closure
Here, you need to put the closure in the middle of the head. You just need to pretend it’s your head.
You don’t need to put the closure directly on the wig cap. You always have to go half an inch down. After that, you need to make sure the closure has been perfectly laid flat on the wig head. - Mark The Frontal
At this point, you need to outline where the frontal is sitting. So, grab your sharpie and draw a line along with the frontal of your wig head. After that, you have to draw a second line just behind the previous one.
Next, you need to draw yet another line on the first seam of your elastic band. This way, when you’re sewing, you know you can’t go past that line. Keep going all the way up to the top.
Once you’ve drawn the lines, remove the frontal. - Sew The Tracks
Here is how to sew a wig: first, you need to align all the bundles on top of each other. Before you feed them into the sewing machine, you must pinch a piece of hair. This way, you’ll have more control when sewing.
Grab the piece of hair, and then pull it through the sewing machine. Next, drop the presser foot so the hair won’t move.
After that, grab the piece of hair and the thread. By doing that, it won’t move randomly as you sew. Once you’ve sewn all the way down, you need to put the machine in reverse to secure the stitch. Keep doing this for all the bundles you want to sew. - Sew the Wefts
Remember the lines you drew earlier? Well, you have to line up your weft according to the lines and then sew through those lines.
Reverse it a couple of times to secure the stitches, and then keep on sewing all the way through the lines. This goes for all the bundles. Also, the very last bundle is always single weft. - Hand Stitch The Center
Once you’ve made it to the top, you have to put the cap on the wig head. After that, you have to hand stitch the frontal. After you’ve sewn it, you have to use the sewing machine and sew wig cap. And that’s all there is to this process.
Here you learned about the process of making a wig using a sewing machine. Now you can buy a perfect sewing machine for wigs and start working with it.
Thank you for your hacks…. But its need a demonstration, by giving the machine diagram as an example